Final Verdict
Streaming music is convenient, but there’s still nothing quite like playing a full album on vinyl.
The challenge here lies in combining that analogue experience with modern smart home audio systems without losing fidelity or functionality. In this guide I’ll show you how to build a DIY system that lets you stream your record player to AirPlay speakers like HomePods using a Raspberry Pi and Home Assistant effectively.
About the Vinyl AirPlay Bridge
This setup creates what we will refer to throughout as the Vinyl AirPlay Bridge, which is essentially a simple network-accessible tool connecting your turntable directly to your smart speakers. The system functions as a lightweight streaming solution that captures audio from your record player and broadcasts it over your local network to any compatible AirPlay-enabled device you own.
The Hardware You’ll Need
Your existing record player should have either a built-in preamp or an available line-out option. Having this ensures the audio signal is at the correct level for digital input and maintains quality without needing expensive external amps immediately.
This means your turntable will not be dependent on power amplification to reach the speakers correctly in your bridge configuration.
For capturing the audio output, you’ll need a compact USB audio interface. The Behringer UCA202 is generally a popular choice for this specific purpose due to its affordability and reliability regarding stability during use.
You should look into acquiring that particular model if budget allows or similar alternatives with comparable line-in capabilities.
Next comes the core processing unit, which acts as the brain of your bridge. A Raspberry Pi 5 is recommended here specifically for best performance metrics in this application environment.
The device benefits greatly from a wired Ethernet connection rather than wireless Wi-Fi access to ensure maximum stability and minimize dropouts during playback sessions.
Software Setup & Code
I have done most of the heavy lifting regarding development work already, so you will not need to build everything from scratch entirely on your own time.
We have packaged the code that makes this magic happen alongside a comprehensive readme file covering setup guides and instructions for automatic service startup.
You can access these resources directly on my Github repository where all files reside securely. This ensures easy downloading without searching multiple forums or documentation pages manually each time you return to update firmware.
This saves significant configuration friction during the initial boot process of your new streaming device.
Network Configuration
Assign a static IP address specifically for your Raspberry Pi within your router’s DHCP settings. This prevents connection interruptions caused by network reassignments that can occur over time as leases expire on wireless networks.
All AirPlay devices participating in the system must remain connected to the same local subnet without requiring specific port forwarding beyond standard.
Using The Web Interface
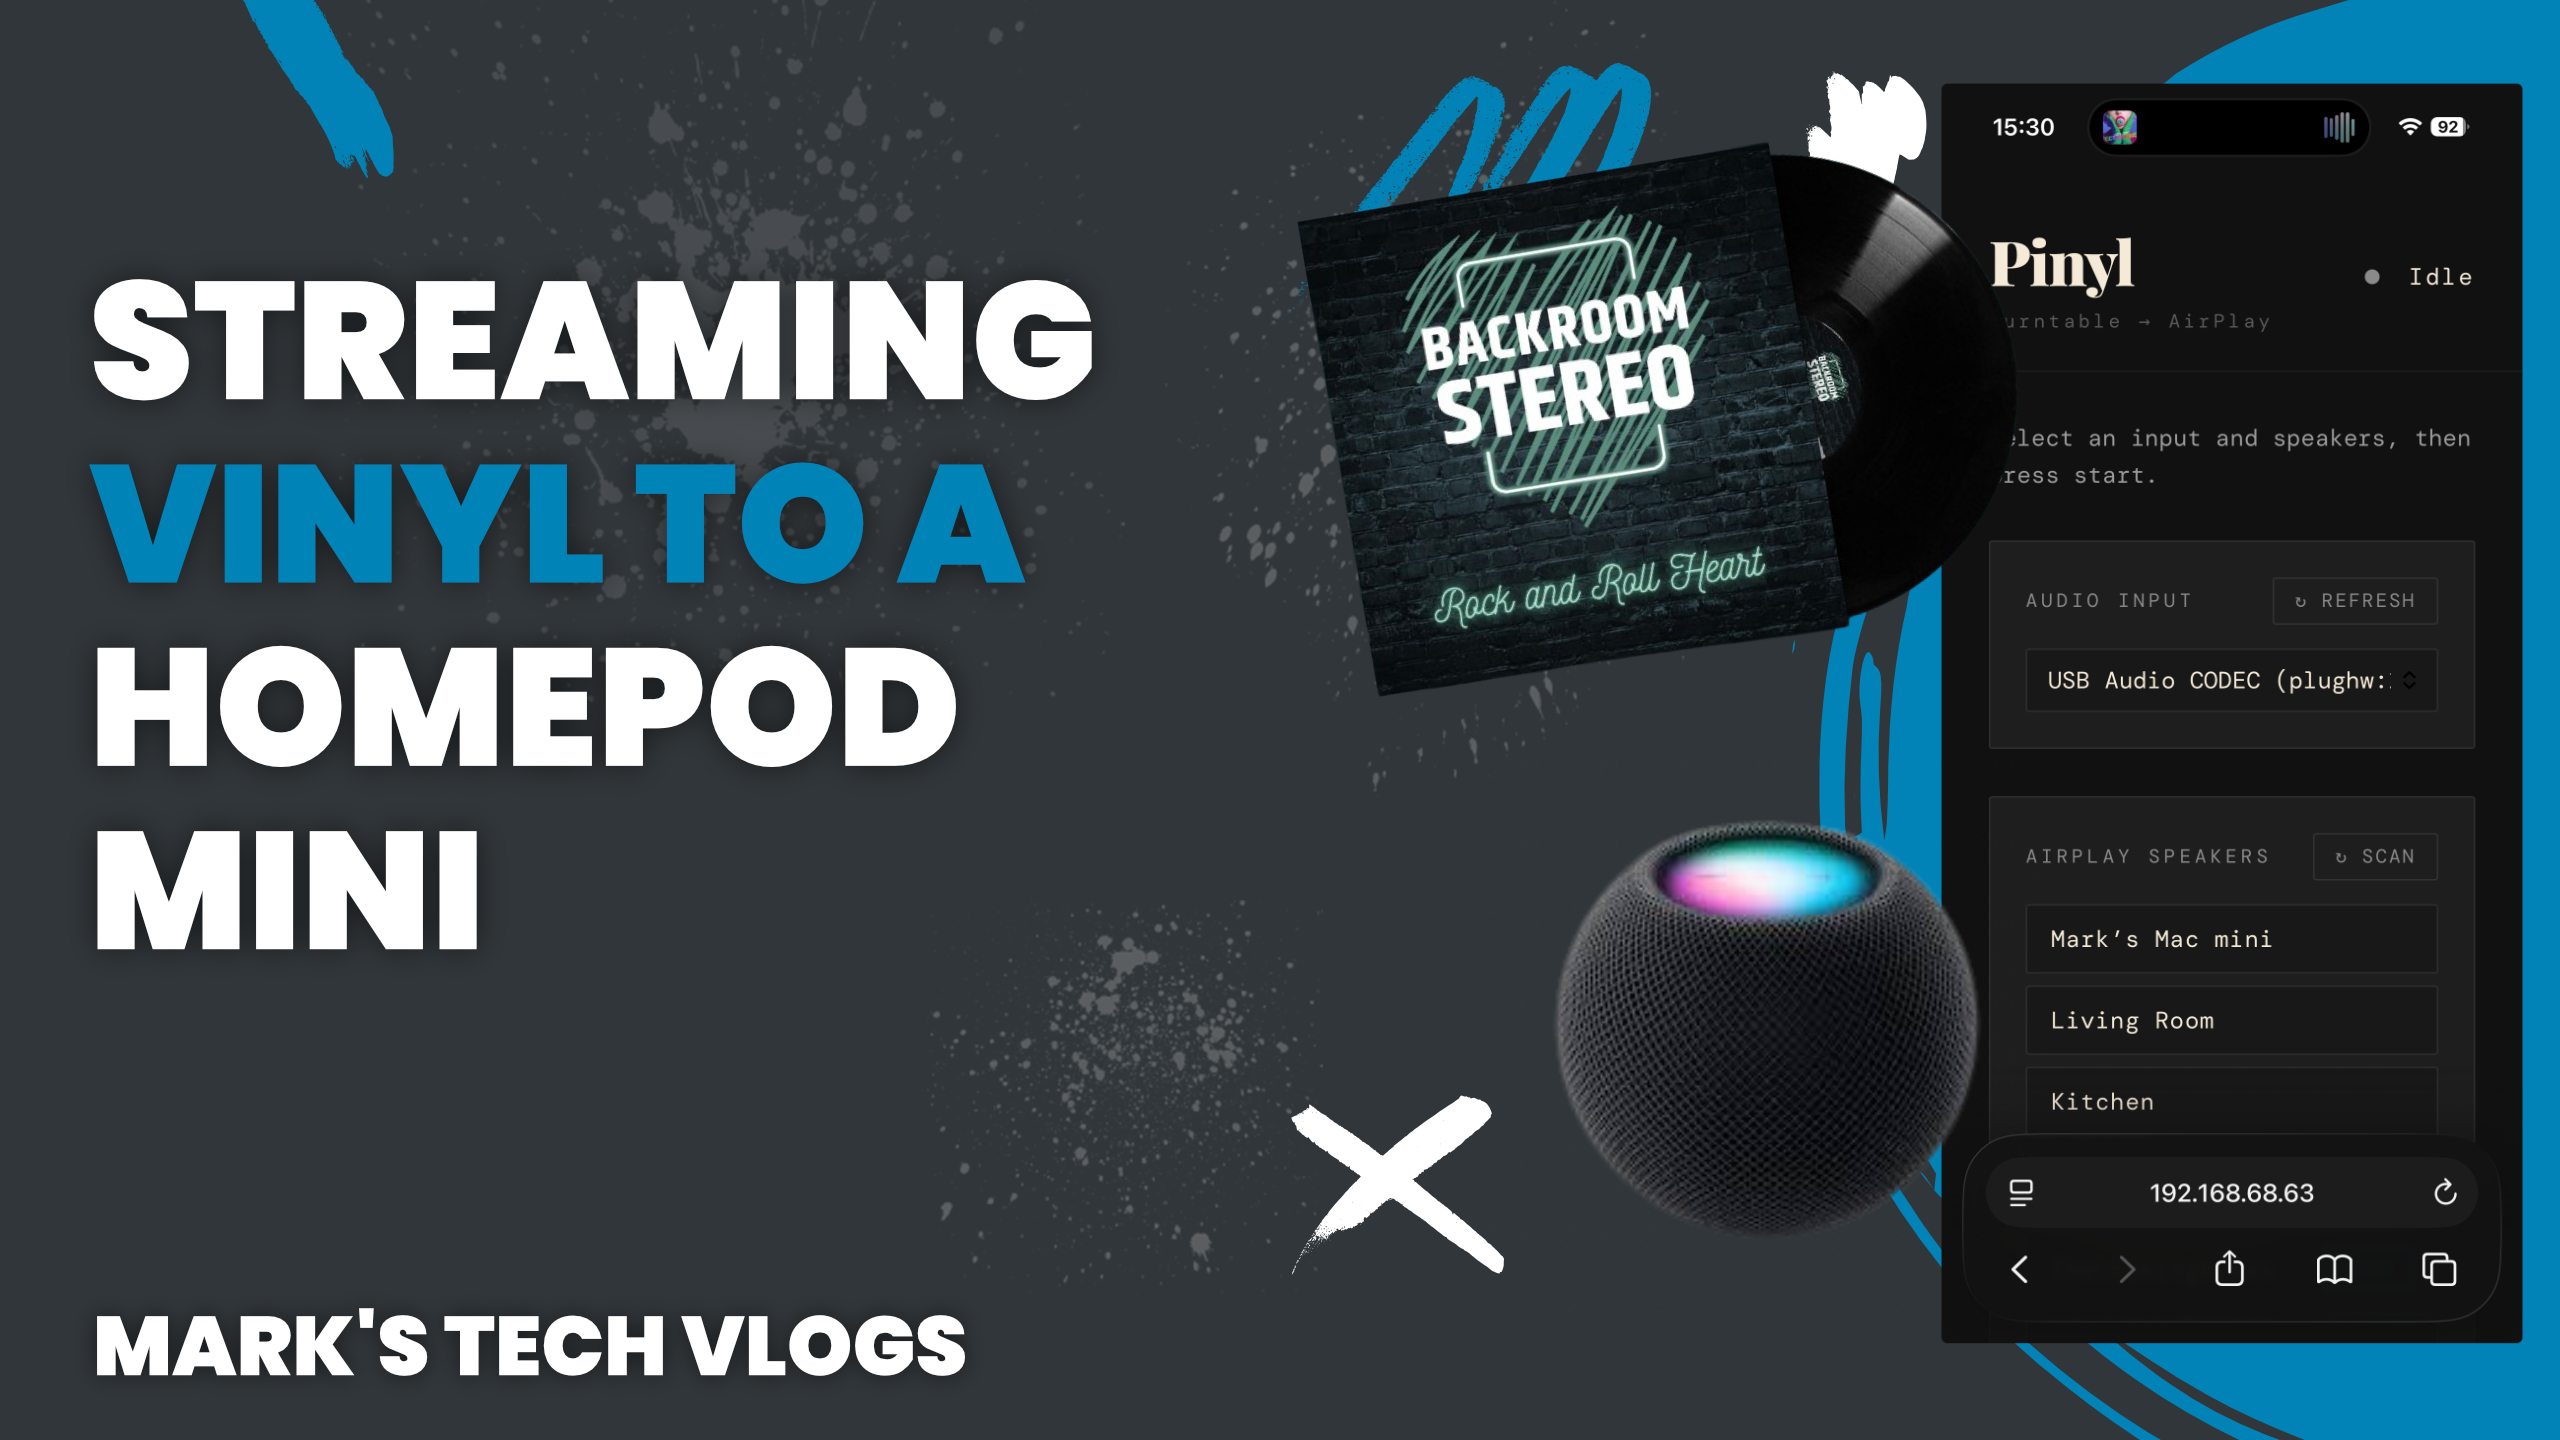
The Vinyl AirPlay Bridge allows you to access control panels through a browser-based interface hosted directly on your Raspberry Pi device. From this single window, you can manage playback across all networked speakers easily.
Select one or multiple AirPlay speaker endpoints within the list provided by the discovery mechanism.
You start streaming instantly once connections are confirmed via standard web protocols without opening external apps.
The interface automatically discovers available devices on your local network, including various HomePods and Apple TVs running recent operating systems. Adjust playback volume controls from this same dashboard if you need to balance audio between rooms dynamically.
Step-by-Step Setup
To prepare the Raspberry Pi hardware correctly before software installation begins is a crucial first step in ensuring success.
The process requires installing Raspberry Pi OS onto your SD card or SSD drive and connecting the USB audio interface securely into an available port on the board.
Once physical connections are secure, update system packages to ensure you have access to necessary repositories for Python libraries. Installing required dependencies is then performed through terminal commands provided in official documentation.
The goal here ensures that your operating environment has all modern drivers loaded before launching custom services manually via text console entry points available on boot.
Configuring Automation
To ensure the service runs automatically upon system startup, you must create a dedicated systemd service file. This keeps the Vinyl AirPlay Bridge always ready to stream instantly rather than waiting for manual command inputs every morning.
This automated launch script is configured within your Raspberry Pi’s directory structure under standard paths designated for persistent user services that survive reboots.
To access functionality, navigate to your IP address with port 5050 using HTTP protocol in a browser window on another computer connected locally. From here you can select your audio source and choose specific AirPlay speakers to stream toward within the interface provided.
The dashboard handles routing logic so that only one device receives playback output at any given moment unless stereo surround pairing is enabled manually.
Home Assistant Integration
One of the most powerful features available with this project involves integrating it deeply into Home Assistant. If your turntable has a sensor contact, such as under a lid or power switch status check, you can use that trigger to automatically start streaming music immediately.
The system works because the bridge exposes an API endpoint where Home Assistant sends requests via POST commands directly.
Alternative Siri Control
If you’re not using home automation software specifically for your setup needs yet, you can still control everything easily using built-in voice assistants on iOS devices. By sending a simple web request through automated scripts inside shortcuts app capabilities available.
You create custom commands in the app to start streaming directly or adjust volume levels without opening any specific third-party interfaces.
Limitations & Considerations
This system works very well overall, though there are certain performance considerations users should keep in mind during actual operation. Some latency is expected due strictly to network streaming overhead between devices rather than source hardware delays themselves.
A strong wired connection significantly improves reliability metrics compared to relying solely on wireless connectivity for control packets.
Final Thoughts
This bridge offers a practical way to combine analogue audio fidelity with your modern smart home setup effectively today. It lets you enjoy physical vinyl records while still taking full advantage of distributed audio capabilities across different rooms throughout your house.
If you’re comfortable managing basic technical knowledge and want more granular control over specific devices, this project is highly rewarding when done correctly.
This brings together Raspberry Pi hardware flexibility with Home Assistant automation logic in a clean functional way that commercial products often lack due to cost or feature restrictions imposed on proprietary systems.
