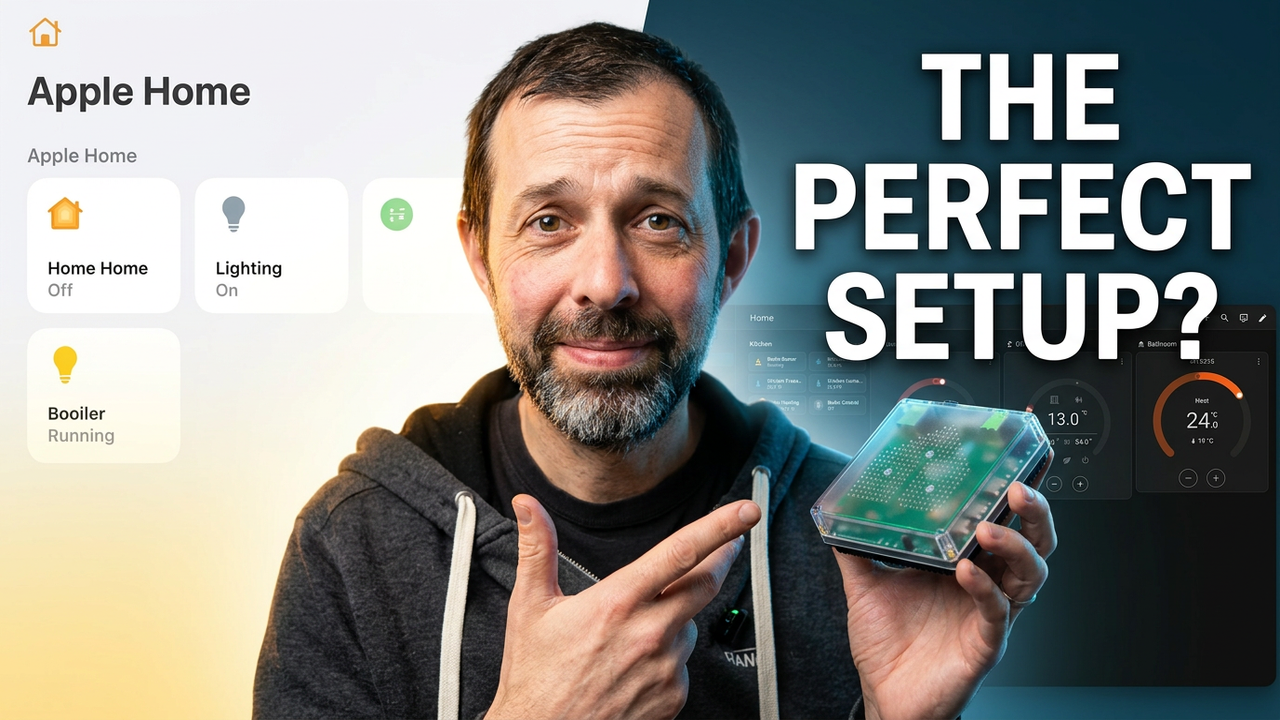
Confession: I Started Using Home Assistant
There is a confession I need to make that might surprise some long-time followers. For several months now, I’ve been running my smart home on Home Assistant. If you follow this channel regularly, you know I have always leaned heavily into the capabilities of Apple Home and Shortcuts for automations—that was genuinely how things stood until recently when reliability issues pushed me in a different direction. While I believe that advanced automations using Apple Home are still excellent for most everyday users without much friction over time, eventually those platforms hit certain limitations where more complex logic becomes difficult to manage properly inside the standard interface or Shortcuts alone.
Home Assistant Isn’t What I Expected
I want to address one major concern immediately: reputation.
For years, Home Assistant had this distinct image of being extremely technical and inaccessible for non-experts. You never have long in online discussions before someone starts talking about YAML files or command lines configurations which seemed intimidating at first glance. But honestly speaking as we get into 2026 and beyond that isn’t the full picture anymore regarding how easy it is to actually use today.
From my personal experience, Home Assistant now comes across as being roughly just as simple to set up for daily tasks compared to something like Homey which was previously a go-to alternative. I realized this truth after moving my Raspberry Pi setup from running inside Homebridge over specifically to the HomeAssistant platform properly diving into it several months ago.
And yes, I admit that I’m actually a developer so technically speaking if needed there are advanced setups involving YAML files or command lines that you could handle—but in reality I’ve written very little of those config scripts myself. Almost everything done is configured directly through the visual interface available within their app rather than manual file editing.
And yes, regarding Homey Self-Hosted solutions which some might have seen discussed before on this channel—if you saw my video referencing that topic earlier—you’ll know I actually think Home Assistant feels like currently it’s often a better overall option for those looking to expand control without the heavy reliance on third-party apps.
Why I Switch
The biggest driving reason behind this switch ultimately comes down to how automation works specifically.
I have maintained that Apple Home automations are actually very reliable and functional, though eventually users run into limitations where you need something more advanced than the native platform provides. While it is technically possible with Apple Home plus Shortcuts to try to achieve these advanced setups those automations quickly become complicated if not nearly impossible to manage for long-term maintenance.
That was exactly what led me away from purely relying on that ecosystem initially and toward Home Assistant which offered far more control over the logic structures needed. Initially, I ran my instance of it directly on a Raspberry Pi device locally within home network infrastructure so everything stayed private there without requiring cloud dependencies for processing or storage.
More recently though because you want to experiment with things like local AI processing capabilities inside your own environment—I’ve moved every single one of those functions onto an M4 Mac mini running Home Assistant directly from a virtual machine context setup. I might make a dedicated video on that specific hardware architecture configuration in the future since it performs differently depending upon resources available there—but for most people out there just looking to get started quickly there’s actually quite different route which is simpler.
The Easiest Way to Get Started
If you want absolutely easiest possible Home Assistant setup path without requiring technical build skills or flash processes I’d recommend looking at the official HomeAssistant Green product from their store directly. It costs around £150, so it’s more expensive than many traditional smart home hubs on the market out there right now but it’s capable of far more functionality within a single unit.
The biggest advantage is definitely simplicity rather than raw power alone because pre-installed software means no need to flash SD cards manually or install operating systems yourself. You essentially buy into platform support directly from Nabu Casa which was founded by the original creators themselves, so buying their hardware helps support ongoing development of this open source community project alongside getting a device that works out of the box.
Matter Thread and Zigbee Support
However there are important considerations regarding protocols you want to connect with specifically if you look at things like Matter over Thread or standard Zigbee devices together simultaneously which often confuses new users initially.
If you need support for matter thread zigbee devices all in one go you’ll also want the Home Assistant Connect ZBT-2 add-on module added into that picture. That costs around £50 depending on sales prices currently available today but here’s an important limitation worth noting before purchasing: it can either handle Matter over Thread or Zigbee not both at same time so if your home setup needs full support for matter alongside thread plus zigbee together you will likely want to use separate hardware dongles.
DIY vs Appliance Approach
The Home Assistant Green definitely isn’t the most powerful standalone hardware available in general market terms but for getting started quickly it’s probably actually easiest route that doesn’t involve soldering or complex build steps at minimum. If you prefer DIY approach using standard components something like a Raspberry Pi 5 with an SSD attached drive is extremely reliable too—that was what I originally used during first setup phase—but does require more technical work upfront to get configured correctly via command lines initially.
Initial Setup Process
The actual process of setting up the platform once hardware arrives or installed locally is refreshingly simple in my opinion especially compared to other platforms requiring multiple apps on device side. You create an account for your cloud integration, set your physical location coordinates so network scan works better then HomeAssistant immediately starts scanning your entire home network automatically looking for compatible smart devices attached via Wi-Fi.
Remote Access and Security
For anyone planning to enable remote access into their dashboard or automations I’d strongly recommend enabling two-factor authentication specifically for security reasons before connecting from outside of trusted local networks later on. Regarding specific solutions for keeping that connection secure, easiest solution remains subscribing directly through HomeAssistant Cloud service provided officially by the platform team.
Adding Matter Devices
If you want to integrate devices inside AppleHome first using matter protocol then moving them into Assistant is actually really straightforward compared to older bridge methods requiring configuration steps in every app manually. You simply open your home application go into device settings put that specific item into pairing mode before opening the HomeAssistant dashboard interface yourself.
Migrate Devices
You can choose two main paths forward once you are comfortable with local network scanning and initial account creation done:
Start completely fresh on new system OR gradually migrate existing devices without resetting your entire smart home ecosystem which might be risky if not planned carefully. For me personally HomeAssistant serves two main purposes right now in my daily usage routine.
Bridging Non-Apple Devices
Firstly it allows me to bring non-ApappleHome compatible devices particularly Tuya protocol gadgets into Apple home using a feature called HomeKit Bridge functionality which is similar conceptually what Homebridge software does without running on separate server. Secondly I wanted more advanced and flexible automation platform that doesn’t require relying entirely on third-party cloud APIs for simple tasks like lighting control based on specific time triggers or sensor thresholds.
Selecting the Device
Finally when moving devices into the system you can open AppleHome application directly Go to device settings select add new items then open HomeAssistant Dashboard again navigate Settings Devices and Services tab choose Add Device button Select your desired category for Matter protocol support finish pairing process. Choose Add Device Selection or similar option available depending on firmware version of running software at current time being displayed when adding devices from external sources into local server.
