Reolink sent me the Reolink Atlas PT Ultra and a Reolink Solar Panel to review, but I bought the Reolink Home Hub Mini myself — so I’m coming at this with a mix of gifted and out-of-pocket experience. I’ve been using it for about three weeks now: the first week without the Hub, and the last two with it connected. Here’s what I actually think.
Do You Need the Reolink Home Hub Mini?
Before we get into the camera itself, it’s worth asking whether you need the Hub at all — because that decision shapes a fair amount of your experience.
If you just want to use it with the Reolink app and maybe tie it into Alexa or Google Home, you don’t need the Hub. But if you’re a Home Assistant user and you want the video feed available there (and therefore in Apple Home), you do. The Hub also gives you local storage without a subscription, plus some AI-powered weekly insights. You can pick one up for around £45 if you supply your own microSD card, which isn’t bad.
Price and Design
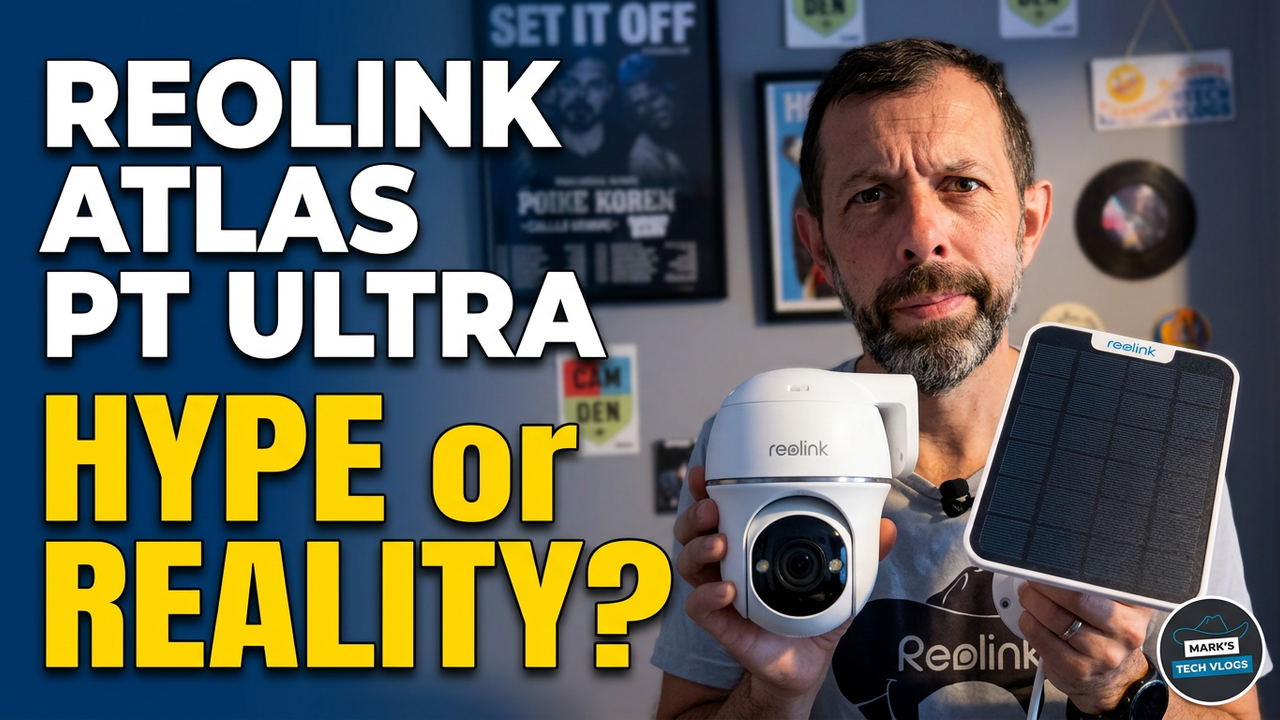
At £170 including the Reolink Solar Panel, the Reolink Atlas PT Ultra is on the pricier end for outdoor cameras. There’s a 5% discount available via my link below, and Prime Day sales are currently running too.
It’s a clean-looking thing. White body, white antennae, and a round camera head that can rotate 355 degrees for auto tracking. The bracket gives you the option to wall-mount it or point it up towards a soffit. On the base there’s a covered USB-C port for charging or connecting the solar panel, and on the bottom there’s a slot for a microSD card.
The Reolink Solar Panel is thin, modern-looking, and comes with a long USB-C cable. Good quality feel all round.
Specs That Matter
The built-in battery is 20,000mAh. That gives you up to 96 hours of continuous recording, or up to 500 days if you’re running in PIR trigger mode capturing around 300 seconds of footage per day. In practice, with the Reolink Solar Panel keeping it topped up, I genuinely haven’t needed to think about charging it. Even during a pretty grey, wet first week of testing the battery barely moved — and I hadn’t even fully charged it before starting.
Camera-wise you’re getting 4K at 15fps, 355 degrees of horizontal rotation, 90 degrees of tilt, a colour night mode, and a built-in light. There’s also a speaker and microphone for two-way audio and alarm functionality.
It connects over WiFi on both 2.4GHz and 5GHz, with dual-band WiFi 6 — and that shows. The range on this is the best I’ve seen on an outdoor camera.
Object recognition covers people, animals, and vehicles, or you can just set it to all motion.
One thing to note: there’s no built-in storage. You’ll need to add a microSD card up to 512GB (not included). At this price point I do think they could throw one in. If you’re using the Reolink Home Hub Mini, you don’t need a card in the camera itself, just in the Hub.
Subscriptions
Out of the box you’re compatible with Alexa and Google Home. Most features minus the video feed work with Home Assistant, and for the full feed you’ll want the Hub.
If you do want cloud storage, a single device plan is £3 per month or £3.49 for up to 5 cameras (currently on offer). That gets you 30-day video history, unlimited storage, AI video search, and rich notifications with image thumbnails. You do get a limited number of those rich notifications for free — which might be plenty depending on how busy your area is. Worth knowing though: if you’re using the Reolink Home Hub Mini, those free rich notifications aren’t available. It’s a bit of an odd quirk. I always prefer no subscription, and the Hub makes that easy.
Setup
Both the camera and solar panel boxes include everything you need — screws, fittings, and cable ties/straps if you’d rather attach it to a post or tree without drilling anything. I used the screws.
Charge the camera first, then pair it through the Reolink app. The app walks you through connecting it to WiFi and it worked first time with no fuss. Mounting is straightforward: the bracket goes up first, the camera slides over it and is fixed with two screws, then you hook up the solar panel.
If you’re dropping in a previously used microSD card, format it inside the camera. Go into camera settings, tap the camera, and head to Storage.
In the app there are a few settings worth turning on early:
- Push notifications (you can set these as critical alerts, add thumbnails, and schedule when they’re active)
- Camera recording with your preferred detection types enabled
- 10-second pre and post-recording buffers, to make sure you’re not missing anything
- Auto tracking settings — choose whether it follows people, animals, vehicles, or everything
There’s also email alerts, FTP upload to a NAS, time-lapse, file encryption, and a privacy mode that moves the camera to a set position. Plenty to dig into.
Day-to-Day Use
Even without the Hub, the video feed loads quickly in the app — faster than I expected when accessing it remotely. Motion notifications come through promptly, and the thumbnail option is genuinely useful if you’re not using a hub.
Detection is good. It picks up people and animals reliably, including at night. The only false alerts I’ve had are from washing blowing on the line being flagged as a person, which is pretty standard for any camera.
The night video quality is the best I’ve seen on a battery outdoor camera. The colour night mode combined with the built-in light makes it genuinely hard to tell you’re looking at night footage. Tracking animals in the dark works well too.
Browsing clips in the app is easy and you can download footage. You can switch between a lower quality stream and full resolution by toggling from Fluent to Clear. When you use the Hub you get a slightly cleaner interface for playback, but it works fine either way — both at home and remotely, without needing a subscription.
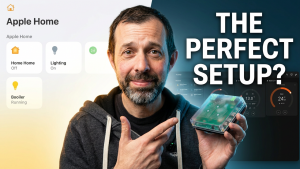
Home Assistant and Apple Home
There’s no native Apple Home support. If you want it there, you’re going through Home Assistant or HomeBridge.
Here’s where it gets a bit involved. Without the Hub you can still expose a lot to Home Assistant — human, vehicle, and animal detection states, sensitivity toggles, settings you can’t even find in the Reolink app itself. That’s actually impressive. But for the camera feed in Home Assistant, and therefore Apple Home, you need the camera connected to the Reolink Home Hub Mini.
For best performance, connect the camera to the Hub’s own WiFi network rather than your home network. Then in Home Assistant, go into HomeKit Bridge and create a new entity for cameras (rather than adding it to your existing bridge). That creates a per-camera bridge and lets you add it to Apple Home.
Once it’s in Apple Home, it is limited — you get a live feed, motion notifications (not specific motion types), and battery level. No historic video. But it’s there.
The Main Downside
This is one of the trickier cameras to wrap your head around. Using it purely with the Reolink app is straightforward, but the line between what works with and without a hub isn’t immediately obvious. Once you start pulling it into Home Assistant, it gets more complicated still.
It’s not a camera you buy and have running in Apple Home in twenty minutes. I’d put it firmly in the “more advanced smart home” category — more like a considered setup than a plug-and-play device.
Verdict
Taken on its own terms, the Reolink Atlas PT Ultra is a good camera. The battery life is excellent, the solar charging means it’s essentially a set-and-forget installation, and the video quality — especially at night — is genuinely impressive.
If I was putting together a security system from scratch I’d probably get the Reolink Home Hub Mini and a few of these cameras. They work really well together and the Home Assistant integration is solid.
For Apple users though, I’d think carefully. If native Apple Home support matters to you and you want object recognition and video history inside the Home app (which is getting better with iOS 27 and 4K support coming), you might be better served by a fixed outdoor camera with native HomeKit support. The trade-off is you lose the pan-and-tilt coverage.
That said, I’m keeping this one. The quality is there, the tracking is good, and if you’re in the Alexa or Google Home world it integrates cleanly. Purchase links and a discount code are below.