I’ve got a confession to make.
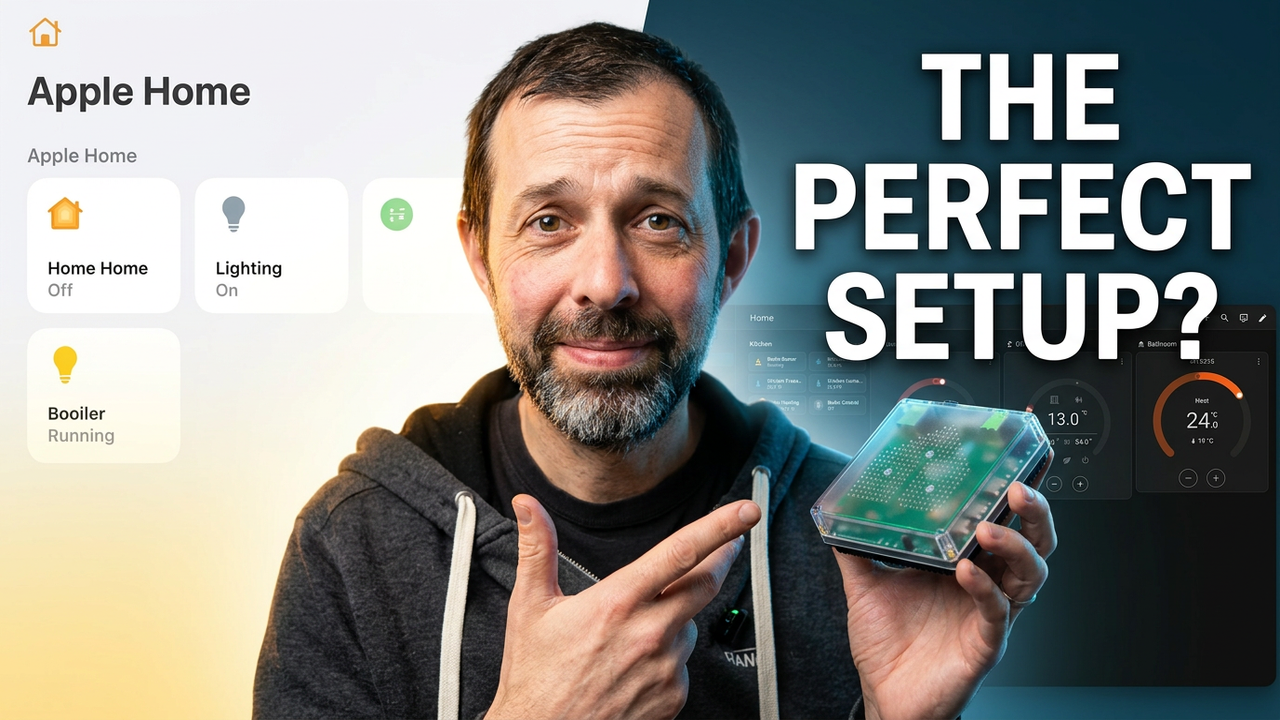
For the last few months, I’ve been using Home Assistant.
Now, if you’ve watched this channel for a while, you’ll know I’ve always focused heavily on what you can do purely within Apple Home.
I’ve made videos on advanced Apple Home automations using Shortcuts, and honestly, until recently that’s exactly how my smart home was set up.
Then I started experimenting more with automations inside the Aqara app.
Aqara’s automation interface is actually really good. It makes creating more advanced automations significantly easier than trying to do the same thing with Apple Home and Shortcuts.
The problem was reliability.
I found third-party Matter devices inside the Aqara ecosystem weren’t always dependable, and I wanted something more stable.
That’s what pushed me toward Home Assistant.
Home Assistant Isn’t What I Expected
For years, Home Assistant had this reputation for being extremely technical.
It never takes long in online discussions before somebody starts talking about YAML files, command lines, or custom configuration setups.
But honestly, in 2026, that really isn’t the full picture anymore.
From my experience, Home Assistant today is about as easy to set up and use as something like Homey.
I realised this after moving my Raspberry Pi setup from Homebridge over to Home Assistant a few months ago and properly diving into it.
And yes, I’m a developer, so I can handle more advanced setups if needed — but the reality is I’ve written very little YAML.
Almost everything I’ve done has been configured directly through the visual interface.
In fact, if you watched my video on Homey Self-Hosted, you’ll know I actually think Home Assistant is currently the better option overall.
Why I Switched
The biggest reason is automations.
Apple Home automations are actually very reliable, and I still think Apple Home is one of the best smart home platforms for everyday users.
But eventually you hit limitations.
There are times where you want to create something more advanced, and while Apple Home plus Shortcuts can technically achieve it, those automations quickly become complicated and difficult to manage.
That’s what led me toward Home Assistant.
Initially, I ran it on a Raspberry Pi.
More recently, because I wanted to experiment with local AI processing, I moved everything onto an M4 Mac mini running Home Assistant inside a virtual machine.
I may make a dedicated video on that setup in the future, but for most people there’s a much simpler option.
The Easiest Way to Get Started
If you want the easiest possible Home Assistant setup, I’d recommend looking at the Home Assistant Green.
It costs around £150, so it’s more expensive than many traditional smart home hubs, but it’s also capable of far more.
The biggest advantage is simplicity.
Home Assistant comes pre-installed, so there’s no need to flash SD cards, install operating systems, or build a Raspberry Pi setup yourself.
It’s also a product from Nabu Casa, which was founded by the creators of Home Assistant itself, so buying their hardware helps support the platform.
The hardware includes:
- Ethernet connectivity
- Two USB ports
- A power adapter
- Expandable storage via microSD
One thing worth noting is that it doesn’t include built-in Wi-Fi.
Matter, Thread and Zigbee Support
If you want support for Matter, Thread, or Zigbee devices, you’ll also want the Home Assistant Connect ZBT-2.
That costs around £50.
However, there’s an important limitation: it can either handle Matter over Thread or Zigbee — not both simultaneously.
So if you want full support for Matter, Thread, and Zigbee together, the better option is:
- The ZBT-2 for Matter over Thread
- A separate Sonoff Zigbee 3.0 USB dongle for Zigbee support
That combination gives you far more flexibility.
DIY vs Appliance Approach
The Home Assistant Green definitely isn’t the most powerful hardware available, but for getting started quickly it’s probably the easiest route.
If you prefer the DIY approach, something like a Raspberry Pi 5 with an SSD is extremely reliable too — that’s what I originally used — but it does require more setup work.
The nice thing is that Home Assistant scales depending on how technical you want to get.
Initial Setup Is Surprisingly Easy
The actual setup process is refreshingly simple.
You create an account, set your location, and Home Assistant immediately starts scanning your network for compatible devices.
Things like Philips Hue devices showed up automatically almost instantly for me.
If you’re planning to enable remote access, I’d strongly recommend enabling two-factor authentication for security.
Remote Access and Home Assistant Cloud
For remote access, the easiest solution is Home Assistant Cloud.
That costs around £6.50 per month or £65 annually.
The subscription includes:
- Secure remote access
- Alexa integration
- Google Assistant integration
- Cloud backups
- Additional cloud services
You can absolutely set up free remote access yourself using things like domains and Cloudflare tunnels, but that’s significantly more advanced.
For most people, the subscription is honestly the easier and safer approach.
Adding Existing Devices
Once setup is complete, it’s time to start adding devices.
And this is where Home Assistant becomes really flexible.
You can either:
- Start completely fresh
- Or gradually migrate existing devices without resetting your entire smart home
For me, Home Assistant serves two main purposes.
Firstly, it allows me to bring non-Apple Home compatible devices — particularly Tuya devices — into Apple Home using HomeKit Bridge functionality.
This is very similar to what Homebridge does.
Secondly, I wanted a more advanced and flexible automation platform.
Adding Matter Devices
Adding Matter devices that are already inside Apple Home is actually really straightforward.
You simply:
- Open Apple Home
- Go into the device settings
- Put the device into pairing mode
- Open Home Assistant
- Go to Settings > Devices & Services
- Select the Devices tab
- Choose Add Device
- Select Matter
- Choose “Already Set Up”
That’s it.
And if you add a Matter hub such as the Aqara Hub M3, all compatible child devices connected to that hub also appear automatically.
Like most smart home platforms, Home Assistant also lets you assign devices to rooms and add custom labels.
What Doesn’t Work Well?
The only devices I’ve really found awkward are Zigbee devices.
Generally, Zigbee devices need a single “main” ecosystem controlling them.
For example, my Aqara Smart Pet Feeder C1 stays connected to my Aqara hub, which is then exposed into Home Assistant via Matter.
I could reset it and connect it directly to Home Assistant instead, but keeping it inside Aqara worked better for my setup.
Overall though, device setup has been surprisingly smooth.
I’ve added products from:
- Hue
- Aqara
- SmartWings
- Dreo
- SwitchBot
- Tuya
- And several others
The only setup I’d describe as complicated is configuring Tuya devices for fully local control instead of cloud access, because that involves setting up a Tuya developer account.
Most users probably won’t need to worry about that.
The Dashboard Experience
One thing I really like about modern Home Assistant is the updated dashboard system.
The overview screen now automatically organises devices by room and provides summaries of what’s happening around your home.
You can also pin favourite devices for quick access.
This newer layout is a huge improvement because, personally, creating fully custom dashboards isn’t something I particularly enjoy.
That said, if you do want a completely bespoke setup, Home Assistant absolutely allows it.
Automations Explained Simply
The automation system is probably the biggest reason people move to Home Assistant.
And honestly, it’s much easier than many people expect.
Automations are built around three main sections:
- When
- And If
- Then Do
When
This section contains the triggers.
For example, if you had two motion sensors and wanted either of them to trigger the same light, you’d add both sensors here.
Any trigger inside the “When” section can activate the automation independently.
And If
This is where conditions live.
For example:
- Only run if someone is home
- Only run after sunset
- Only run if brightness is below a certain level
All conditions in this section must be true before the automation continues.
One of my hallway automations works exactly like this.
Both my Hue and Aqara motion sensors can trigger it, but the automation only runs if somebody is home and the time is between 5am and 8am.
If nobody is home, the automation simply won’t run.
Then Do
Finally, this section controls the actions.
You can:
- Turn on multiple lights
- Control several devices at once
- Add delays
- Create branching logic
- Adjust brightness depending on time of day
And despite sounding advanced, all of this is handled through the visual editor.
Local Automation Is a Huge Advantage
One of the biggest strengths of Home Assistant is local control.
If your devices support local communication, your automations can continue working even without internet access.
That’s excellent for both speed and reliability.
In my experience, Home Assistant automations run at least as quickly as Apple Home — and in some cases, slightly faster.
So… Do I Prefer It?
Honestly, yes.
If you combine a Home Assistant Green with a Home Assistant Cloud subscription, getting started is actually remarkably easy.
And compared to platforms like Homey, I personally think it offers significantly more flexibility and compatibility.
I’ve also found Matter device reliability to be noticeably better than what I experienced with Homey.
The best part is that Home Assistant can scale with you.
You can keep things simple and visual, or you can go much deeper with advanced networking, API integrations, Cloudflare tunnels, local AI, and custom scripting.
It’s really a platform that grows alongside your smart home.
Final Thoughts
So yes — that’s my Home Assistant confession.
I’ll definitely be mentioning it more in future reviews and probably making more videos on it occasionally.
That said, this channel will still primarily focus on what you can do directly within Apple Home.
But Home Assistant has genuinely surprised me.
It’s far more approachable than its reputation suggests, significantly more powerful than most smart home platforms, and — importantly — it doesn’t actually need to be overly complicated.
If there’s anything specific you’d like to see covered in future Home Assistant videos, let me know below.